
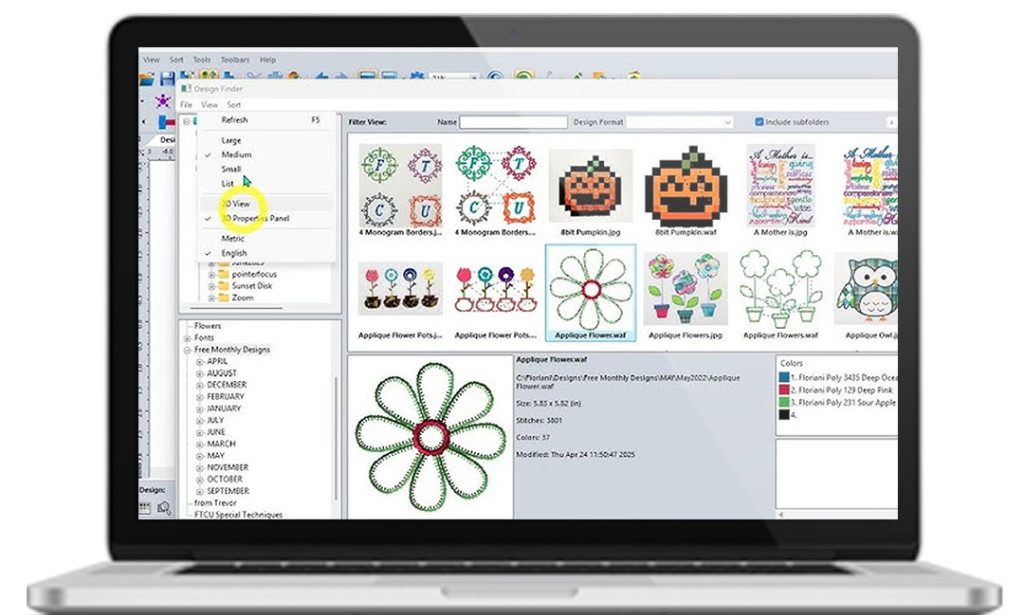
Embroidery is an art that beautifully blends creativity with precision. In today’s digital age, turning your designs into flawless stitched products requires more than a sewing machine—it requires understanding embroidery file formats, especially the PES embroidery format.
A PES file is a widely-used embroidery file format compatible with Brother, Babylock, and Bernina machines. While software can automate the conversion of designs to PES format, achieving professional results requires humanized embroidery digitizing. This approach ensures that every stitch, color, and design element is optimized for quality and durability.
In this guide, we’ll cover what a PES file is, how it works, the role of humanized digitizing, common file formats, and tips for mastering embroidery design files for flawless results.
What is an Embroidery File Format?
Anembroidery file format is a digital blueprint that instructs embroidery machines on how to stitch a design. Unlike regular image files (like PNG or JPEG), embroidery formats include machine-readable data:
- Stitch types: satin, fill, running, or specialty stitches
- Stitch direction and sequence
- Coordinates for every stitch
- Thread color information
These files ensure consistency, efficiency, and precision. Without a properly prepared embroidery file, even a high-end embroidery machine cannot execute your design correctly.
Understanding PES Embroidery Format
The PES embroidery format is primarily used with home embroidery machines such as Brother, Babylock, and Bernina. PES files are popular because they support multi-color designs and are highly compatible with various machine models.
Key Features of PES Format:
- Multi-color support – Allows intricate designs with smooth color transitions.
- Stitch instructions – Contains precise stitch data for every section of the design.
- Machine compatibility – Works with several popular home embroidery machines.
- Ease of use – Simple to upload and execute, even for beginners.
- Scalability – Suitable for small personal projects or small business production.
While PES files are functional, the design quality depends heavily on how the file is created. This is where humanized embroidery digitizing comes in.
Why Humanized Embroidery Digitizing is Essential
Automated digitizing software may convert an image into PES format quickly, but it often produces errors such as:
- Misaligned stitches
- Uneven density
- Thread tension issues
- Distorted text or logos
Humanized embroidery digitizing ensures that each PES file is carefully crafted by an experienced digitizer. Key benefits include:
- Fabric-specific adjustments: Different fabrics behave differently; a human digitizer adjusts stitch density and underlay accordingly.
- Optimal stitch placement: Avoids thread breaks and puckering.
- Color management: Smooth transitions and proper thread selection.
- Sequence planning: Minimizes machine stops and ensures efficiency.
- Design durability: Increases lifespan of embroidery after multiple washes.
In short, humanized digitizing guarantees professional results that automated software cannot replicate.
Common Embroidery File Formats
Besides PES, several other embroidery file formats are widely used:
- DST (Tajima) – Universal in commercial embroidery.
- EXP (Melco) – Industrial machine format.
- JEF (Janome) – Specific to Janome machines.
- VP3 (Husqvarna / Pfaff / Viking) – Proprietary machine format.
- XXX (Singer) – For Singer machines.
Each format has its specifications and requires careful digitizing to prevent errors during stitching.
How to Create a PES Embroidery File
The process of creating a PES file through humanized digitizing involves multiple steps:
1. Artwork Review
The digitizer examines your design to evaluate complexity, size, and suitability for embroidery. Highly detailed images may require simplification.
2. Design Cleanup
Unnecessary details are removed, lines are smoothed, and colors adjusted to prepare for stitching.
3. Stitch Type Selection
Different areas of the design use different stitch types:
- Satin stitches for outlines or lettering
- Tatami/fill stitches for large areas
- Running stitches for fine details
4. Stitch Direction and Density
Stitch direction affects texture and shading. Density is optimized to prevent fabric puckering or gaps.
5. Underlay Stitches
Underlay provides fabric stability, supporting the top stitches for a polished finish.
6. Stitch Sequence Planning
Proper sequencing reduces thread breaks and improves machine efficiency.
7. Test Stitching
A test run is performed to catch potential issues before production.
8. Export File
Finally, the design is exported in PES format, ready for embroidery machines. Sometimes additional formats are provided for versatility.
Common Mistakes to Avoid in PES Files
- Overcomplicated designs
- Ignoring fabric type
- Incorrect stitch density
- Skipping test runs
- Using low-resolution artwork
Humanized digitizing addresses these issues, producing a professional, durable, and aesthetically pleasing PES file.
Practical Tips for PES Embroidery File Mastery
- Provide High-Quality Artwork – Vector formats (AI, EPS, SVG) work best.
- Specify Fabric Details – Include type, thickness, and stretch information.
- Request Test Stitches – Small-scale tests save time and materials.
- Work with Skilled Digitizers – Experts optimize stitch flow, placement, and design integrity.
- Keep Backup Files – Save original PES and any converted formats for future use.
Applications of PES Embroidery Format
- Custom Apparel – T-shirts, jackets, hoodies, and hats
- Corporate Branding – Logos on uniforms or promotional products
- Monograms & Personalization – Wedding gifts, boutique items, and special occasions
- Patches & Badges – Schools, clubs, and organizations
- Creative Textile Projects – Art, home décor, and detailed designs
Humanized digitizing ensures that PES files achieve professional-grade embroidery, regardless of project size.
Case Study: Improving Quality with Humanized PES Files
A small business used automated digitizing for their logo PES file. The embroidery showed misaligned stitches, inconsistent thread tension, and poor color blending.
After switching to a professional humanized embroidery digitizing service, they achieved:
- Precise, aligned stitches
- Smooth color transitions
- Efficient production
- Reduced material waste
This example highlights the critical role of human expertise in embroidery digitizing.
Future of PES Embroidery Format and Digitizing
Emerging trends in embroidery digitizing include:
- AI-assisted digitizing with human oversight – Faster file creation without sacrificing quality
- 3D embroidery effects – Adds depth and texture to designs
- Cloud-based collaboration – Allows designers and digitizers to work remotely
- Advanced color blending – Produces realistic shading and gradients
Even with technology, humanized PES digitizing remains crucial for professional-quality embroidery.
Conclusion
Understanding embroidery file formats and mastering the PES embroidery format with humanized content is essential for anyone serious about embroidery. Proper digitizing ensures:
- Accuracy in every stitch
- Optimal design execution
- Durability and fabric compatibility
- Professional visual results
Whether you are producing personalized gifts, corporate branding, or intricate textile art, investing in humanized PES digitizing services ensures every project meets the highest quality standards.

You must be logged in to post a comment.