

Proper headlight alignment on your KTM motorcycle is crucial for safe night riding, optimal visibility, and avoiding glare to oncoming traffic. Whether you ride a KTM Duke, Adventure, or Enduro model, ensuring your headlight beam is correctly aimed will enhance both your safety and your riding experience. This article walks you through the steps to adjust the headlight beam alignment on a KTM motorcycle.
Why Headlight Alignment Matters
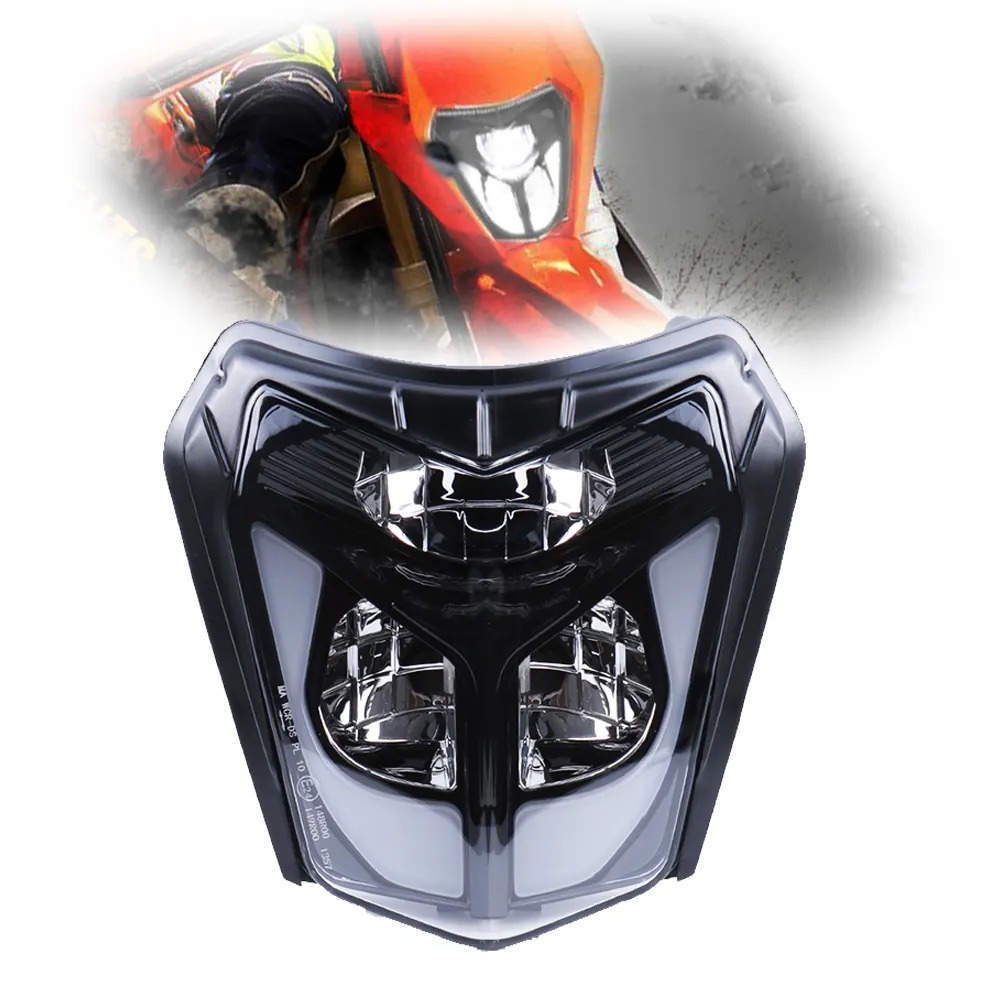
Incorrect headlight alignment can cause poor road visibility or blind oncoming drivers. A headlight that points too low limits your field of vision, while one that’s aimed too high may not illuminate the road effectively and can be a hazard to others. If you’ve recently changed your suspension setup, upgraded to KTM LED headlight, or had an accident, it’s time to check and adjust your beam.
Tools You’ll Need
-
Phillips or flathead screwdriver (depending on the model)
-
A wall or garage door
-
Measuring tape
-
Masking tape
-
A level surface
-
A helper (optional, but useful)
Step-by-Step Adjustment Guide
Step 1: Prepare Your Motorcycle
Park your KTM on a flat, level surface about 10–15 feet (3–4.5 meters) from a vertical wall. Ensure the bike is upright—use a paddock stand if necessary—and check that the tires are properly inflated and the rider's weight (or similar load) is simulated if possible.
Step 2: Mark the Wall
Turn on the low beam. Use masking tape to mark the horizontal centerline of the headlight beam on the wall. You can find this by measuring the distance from the ground to the center of your headlight and applying that height on the wall with tape. Also mark the vertical centerline aligned with the front wheel.
Step 3: Identify the Adjustment Screws
On most KTM models, the headlight assembly includes adjustment screws for vertical (up/down) and sometimes horizontal (left/right) aiming. These are usually located on the back or sides of the headlight housing and can be adjusted using a screwdriver.
Step 4: Adjust the Beam
Use the screwdriver to turn the vertical adjustment screw.
-
Turn clockwise to lower the beam.
-
Turn counterclockwise to raise it.
The top of the beam should be slightly below the headlight’s center height line on the wall (typically about 2 inches or 5 cm lower at 10–15 feet distance).
If your model supports horizontal adjustment, align the beam so it centers on the vertical line you marked.
Step 5: Test Your Alignment
Take the bike out for a test ride in a dark area. Ensure the beam illuminates the road properly without blinding other drivers. Re-adjust if necessary.
Tips for Best Results
-
Always adjust your headlight with the usual load on the bike (rider, gear, etc.).
-
Re-check alignment if you change tires, suspension settings, or headlight bulbs.
-
Consider upgrading to projector or LED headlights for better beam focus and visibility.
Installation Guide
Adjusting the headlight beam on your KTM is a simple but essential maintenance task. With the right setup, you’ll enjoy safer night riding and better visibility in all conditions. Take the time to align your lights correctly, and your future rides will be both safer and more comfortable.

You must be logged in to post a comment.